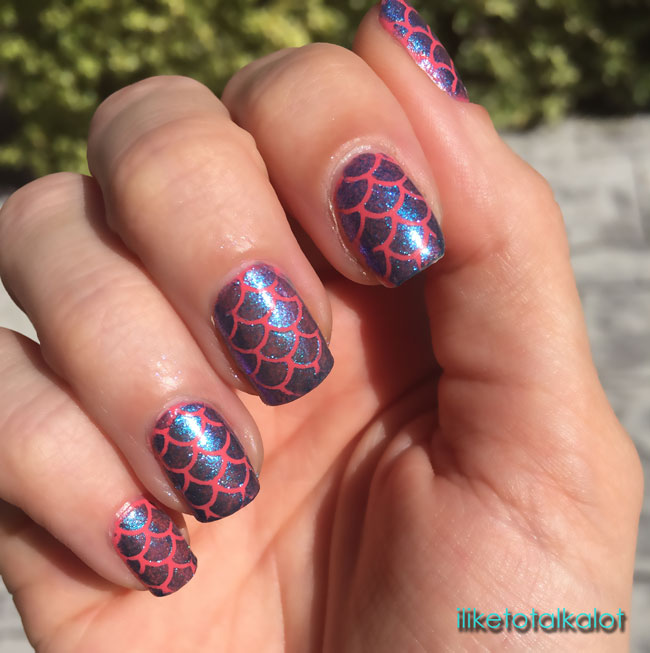
It’s been awhile since I’ve done a nail post, let alone a themed one so I’m excited to bring you a bit of mermaid action while summer is still going strong. I just love mermaids! Mermaids are so pretty and inspire many looks in beauty from hair color and styles, to makeup and last but not least, nails. I’m not a talented enough nail artist to do mermaid themed nails without the help of a decal or glue-on nail charm, so today we’ll be using a mermaid scale stencil I got through WhatsUp Nails. They have a bunch of different stencils and stickers to make your manicure fabulous and I figured this would be a perfect one to start with.
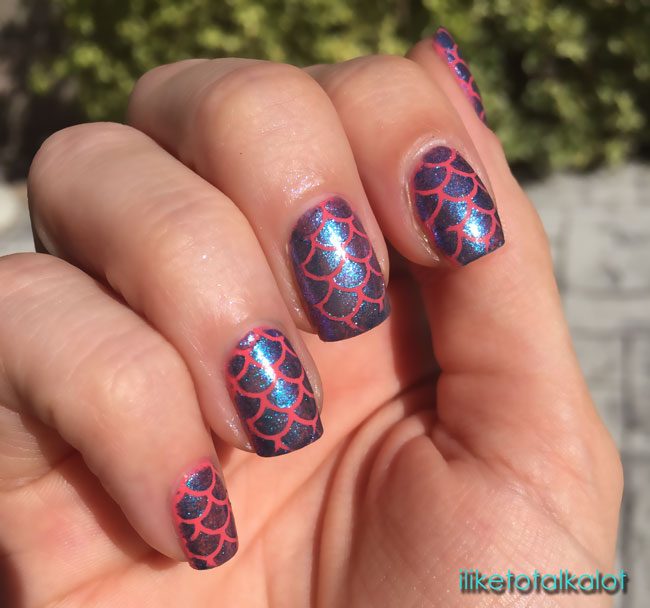
There are no real rules when it comes to mermaid nails when it comes to color combinations as we see beautiful mermaids of all types. I decided to try and get some good contrasting colors in mine with a little sparkle or metallic to them, that way you can see the design easily pop on the nails. If you go to the WhatsUp Nails website or instagram you can get some good inspiration for color combos to use.
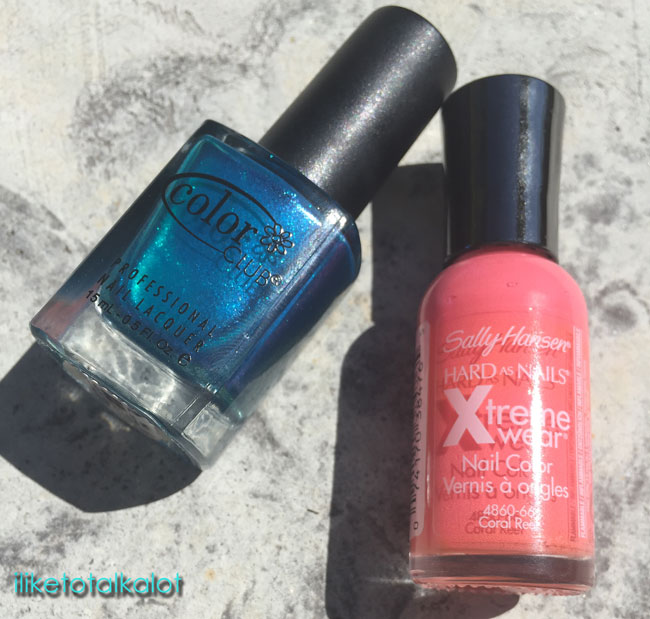
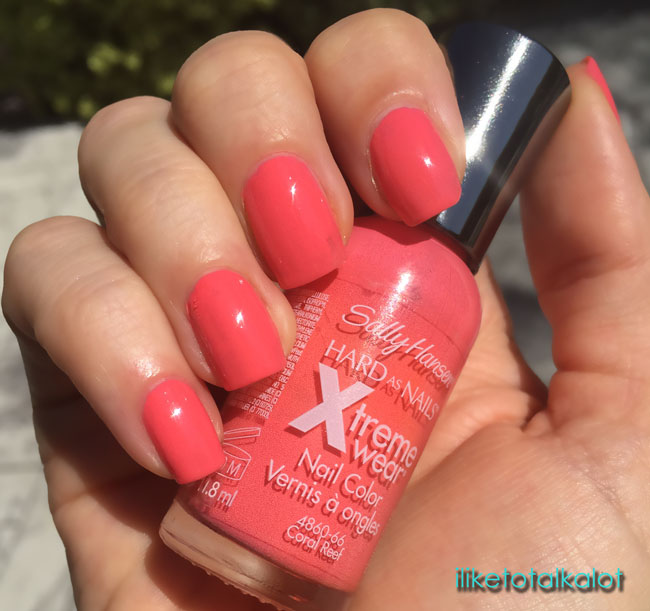
I went through my stash and decided to go with Sally Hansen Coral Reef and Color Club Sky High. Mermaid scale nails will take a couple of steps and a few other supplies so make sure you have some tweezers and a triangle makeup sponge along with your stencils, and color choices.
Go ahead and apply your base color as you normally would and add a coat of clear top coat to smooth it out and seal it all in. Allow it to TOTALLY dry before even thinking of moving onto the next step or you will have to redo it all and no one wants to do that!
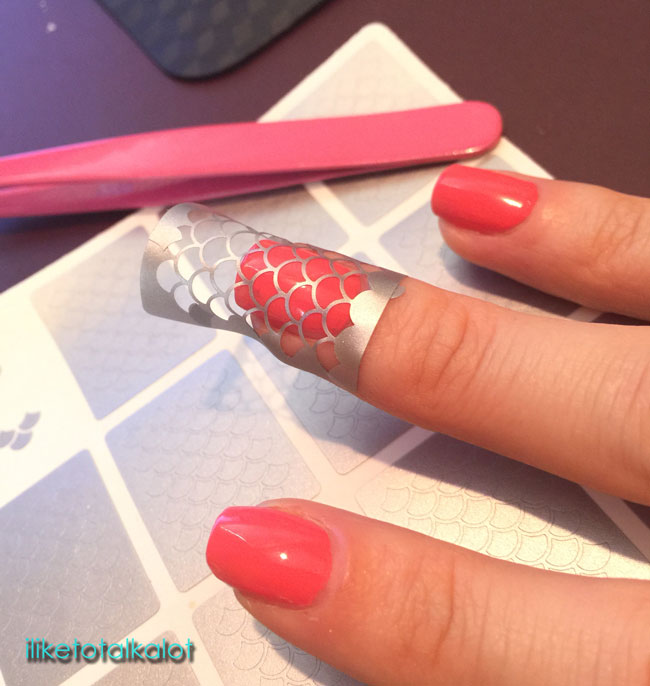
Next, gently lift the nail stencil from the paper backing and press onto the based-colored nails. Make sure that areas near the cuticles and edges aren’t lifted or nail polish will seep underneath and destroy the scale design.
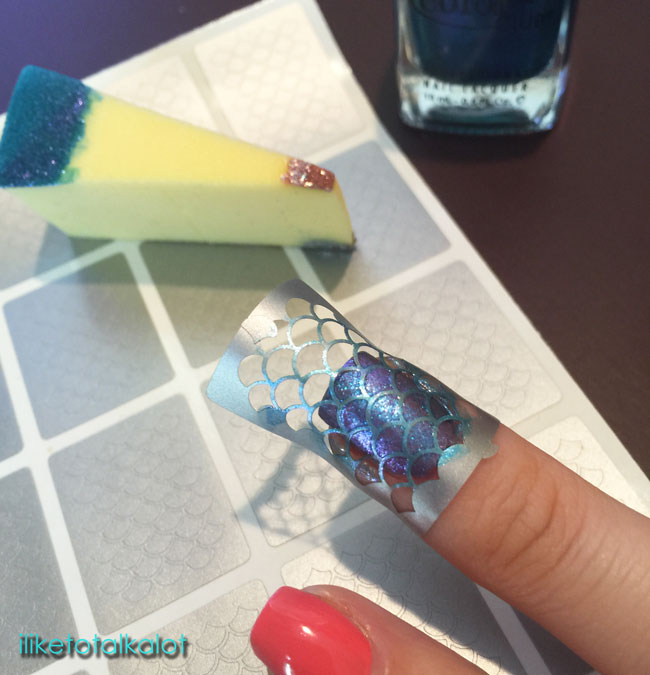
Apply your mermaid scale color on top of the stencil. You do this one of two ways, brush it directly on if the nail polish is thin enough, or use the makeup sponge and dab it on. After applying the second color. Quickly, remove the stencil so you have a crisp design and nothing sticks to the nail.
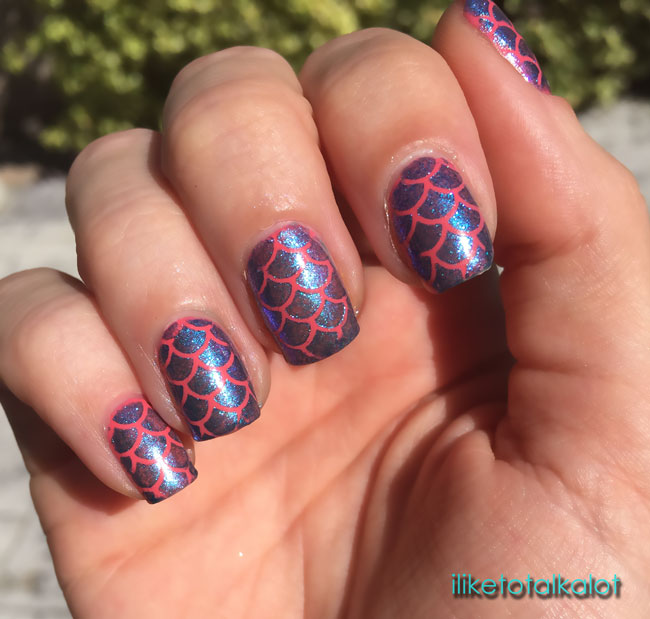
If you used a sponge, you will probably need to do some cleanup at this point so grab your clean up brush and nail polish remover to get any excess nails off. Once you’ve finished clean up and your design has dried, top it off with a clear coat to seal the design in. Now you’ve got some gorgeous mermaid nails to show off.
To find out more about WhatsUp Nails you can visit their website, or their social media on Facebook, Instagram or Twitter. They’ve got some great photos and will have you filling up your cart in no time with stencils that you MUST try!
Want to keep the mermaid theme going? Check out all the fabulous bloggers I’ve teamed up with below to share all our mermaid looks! These are going to keep me busy for a while!
#mermaidmonday #onmondayswemermaid #bbcchallenge
[inlinkz_linkup id=558923 mode=1]


I have got to get me some of those nail stencils. That is so handy! I love doing some sort of nail art whenever I paint my nails, and stencils would make it so much easier and quicker than free-style (especially with my shaky hands!)
I love your look! Totally makes me think of mermaids. And the colors are beautiful! I want to recreate it! 😀
The nail stencils make a WORLD of difference! OMG so much easier to do nail art! I do not have a steady hand to draw anything on my nails!
Sweet JAYSUS. These are amazing! I love the color combo.
These nails are so cute!! That stencil was perfect for the Mermaid theme!
Totally love this. The color combination is beautiful and I’m so impressed with the stencils.
[…] 3. Mermaid Nails with WhatsUp Nails […]
I need those stencils! Love the way the blue works with the coral – I never would have thought to pair those together. Neat!
That turned out great! I just got some of those stencils – can’t wait to try!
I love this! I am still trying to get the hang of the stencils
I LOVE this! So pretty, I love how everyones take on the mermaid nails and looks are so different but so great!